After moving into a new house, my friend decided to change out some light fixtures. Knowing that I love a good challenge, she offered me the house's original chandelier. Not being one easily able to turn down a project, I gladly accepted. I was more than excited when I first saw it. So excited that I started taking it apart before I took any pictures of it.
Here it is in the only semi-original form that I could stand still long enough to remember to take.
I was inspired by Murano glass chandeliers, this room from House Beautiful, and these DIY blue glass jars from Pinterest. I used this same technique on this chandelier as I did to make some DIY solar light jars, and to dye other pieces of glass around the house.
I used Rustoleum high gloss white spray paint on the original gold chandelier frame. I had some issues with the paint crackling a little when I sprayed the second coat, even though I waited the full 48 hours recommended before repainting. I think it's probably due to the fact that I was painting in a cold garage, so be sure that if you are working in a colder temperature that you allow it to dry extra long before painting a second or third coat. The crackling is hardly noticeable, though, so I didn't bother coating it a third time. I took all of the glass off and dyed it using this technique.
On the glass, I used McCormick NEON food color, the blue dye bottle. I only used about three to five drops per maybe half cup of Mod Podge, then added enough water to make it a consistency of syrup. Make sure the inside of the glass is completely coated, and put it in the oven on the lowest setting (mine is 175 degrees), and bake it on a metal cookie sheet until it's dry. You'll know when it's dry because it will be completely transparent. One thing to note is that the Mod Podge dye concoction is not waterproof. If you wet the glass after drying it, after a few minutes the entire coating will peel off, leaving the original glass. On the plus side, no need to worry about making a mistake. If you don't like the color you can peel it off and try again. I've thought about spraying the dyed glass with a high gloss clear sealer but haven't yet gotten around to it :)
On the candle arms, inspired by this product, I covered the old candle sleeves with some textured, pearlesent white paper from JoAnn's that I just cut to size and glued on.
And here's the finished chandelier...
Valentine Avenue
Sunday, September 23, 2012
Friday, May 4, 2012
Thursday, February 16, 2012
the perfect beach house
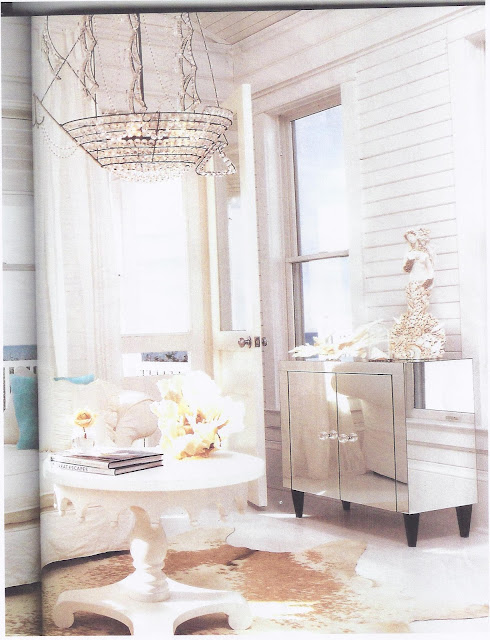
White-painted wood plank walls, clean-lined mirrored cabinet, shells, cowhide rug and a crystal ship chandelier.
The contrasting trim on the chair and sofa is perfection.
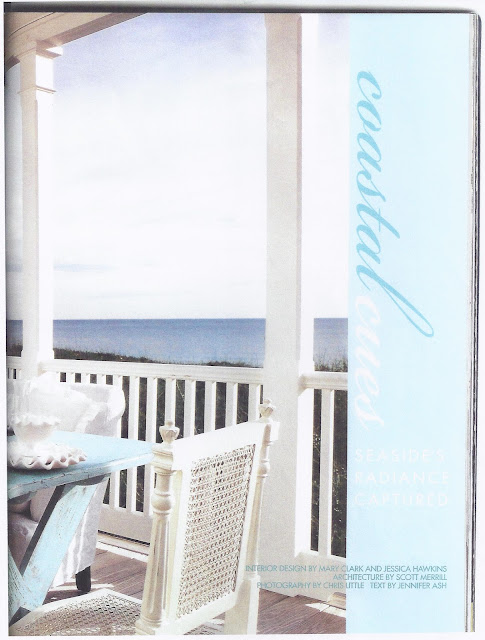
Love this Seaside, Florida beach house. I've never been able to find any digial pictures of it.... Thus the horrible five-year-old scanned copies.
Interior design by Mary Clark and Jessica Hawkins. Architecture by Scott Merrill. I think it is from Veranda.
Thursday, May 26, 2011
craigslist love

I'd buy this Italian brass and marble coffee table
Not exactly the same, but similar idea. Anna Kohler's apartment via Renovation Style
1st Dibs
Wednesday, May 25, 2011
demo pics
I found some photos from 2006, before we moved in, but the original cabinets are already gone. We took everything out and replaced the pipes with copper and relocated the stove and fridge to the kitchen side at the same time.
This is a picture of the dining side demo in 2010. The stove and refrigerator had been moved from the back wall in 2006.
This is a picture of the dining side demo in 2010. The stove and refrigerator had been moved from the back wall in 2006.
Tuesday, May 24, 2011
Saturday, December 11, 2010
kitchen before

This is our kitchen"before." We don't actually have any real before pictures because we had to demo it while I was in the hospital post c-section. The goal was to gain space to the right of the oven, and to do this we had to remove the furnace and old chimney which are hidden in the closet behind the chalkboard door. Originally there was no dishwasher, and the fridge and oven were on the dining side of the kitchen.
 The fridge and oven were where the mirror is. It was really awkward, not to mention there was no counter at all on that wall, just appliances.
Subscribe to:
Comments (Atom)


